Lava base tutorial
I was working with my marauders the other day. It got a bit uniform to paint the same figures all the timr so i startde on some bases to the vicious little vikings. At first i thought that i would go for snow bases, but after gluing the initital rockscape i wanted to try some lava effect. They are very quick to make so they're perfect for the gaming table.
This is how i made them:
First off you will need some material. I went for pinebark since it's lighter than ordinary rocks and resembles slate rock. Be careful when you pick the bark. Use a knife and stick it into the bark a bit out so you dont leave spots of bare wood, damaging the tree. Cause we al love trees, don't we?
As you can see you can get different effects from the same tree. I found that really old trees has the best bark for slate since it's really flaky:


Then it's waiting time....
When the glue has dried, make sure to wipe away any loose sand so it won't stick to your lesser wand of painting later. Paint the whole base chaos black in a sloppy manner. Make sure to dillute the paint with water, about 50/50 so you dont clog the details of the bark. Two layers should do the trick:

Let the drybrushing begin!. Doombull Brown to start with. Mostly around the edges of the slate and rubble:

Then a quite heavy drybrushing with Stormvermin Fur:

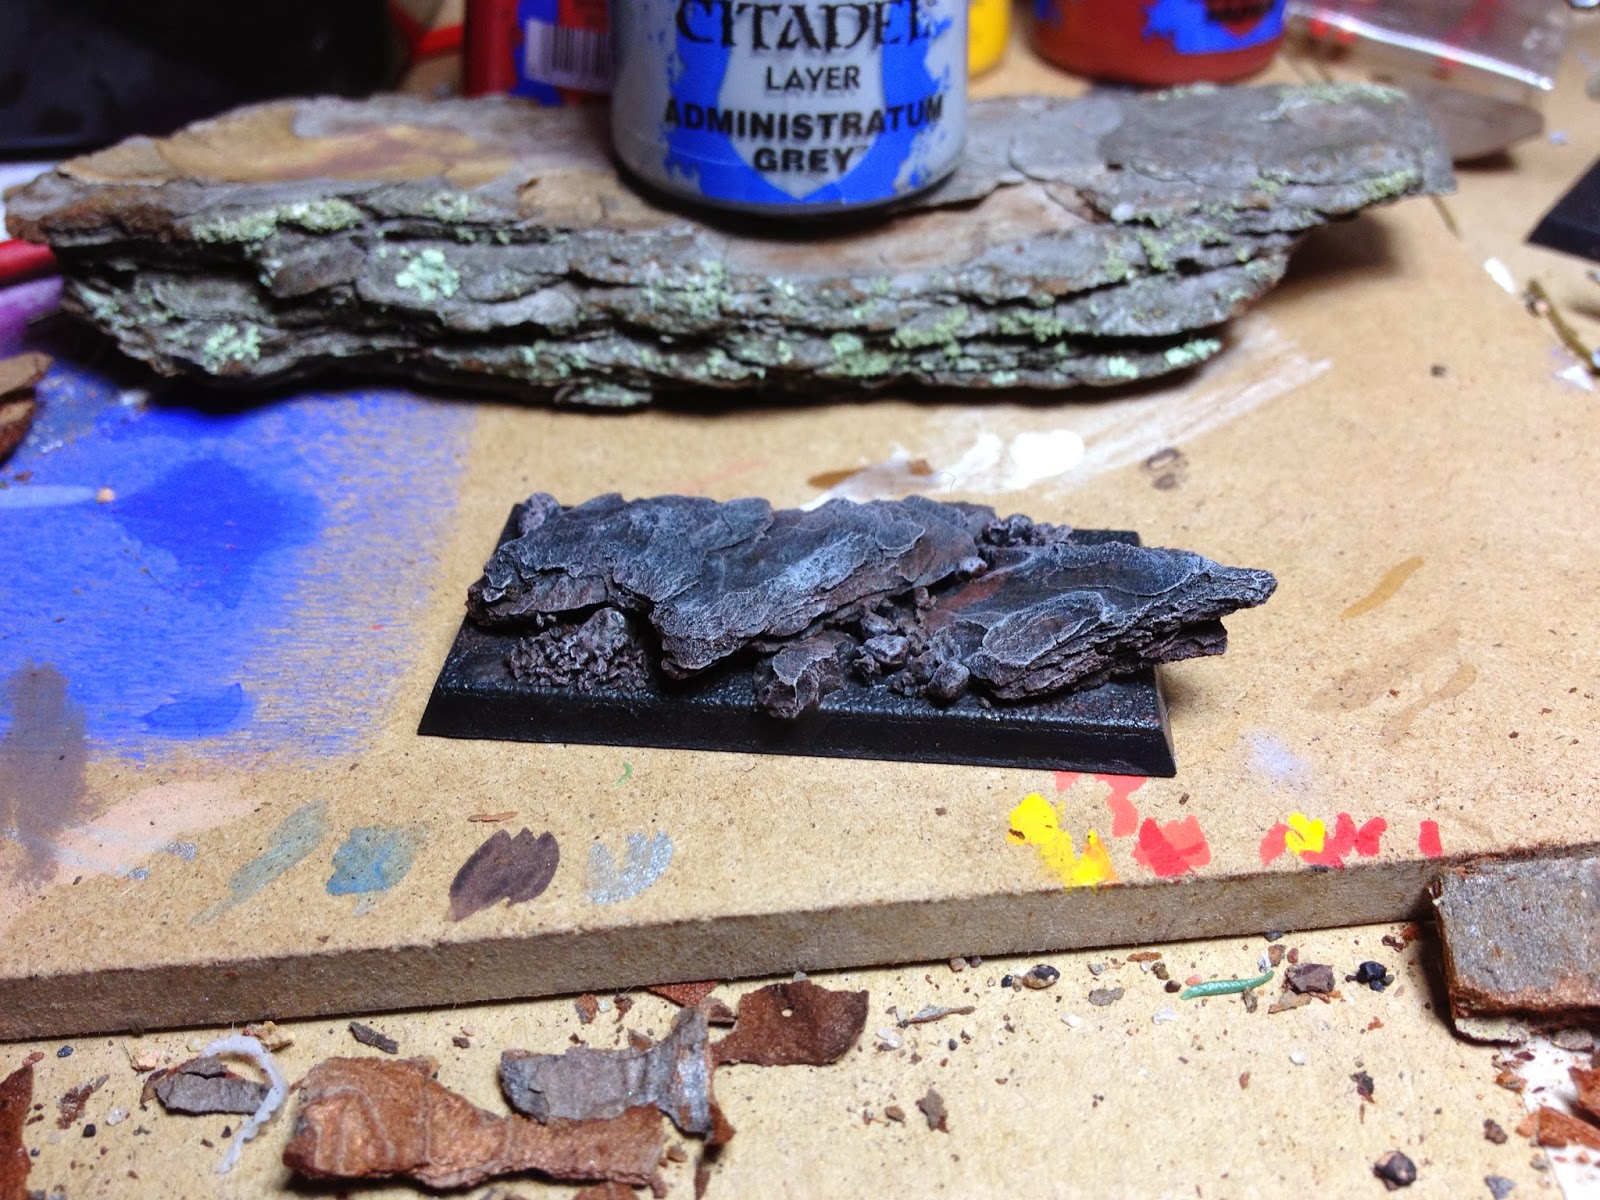
Lets top of with another drybrush layer. This time Administratum Grey. Thats it for the slate:
Over to the molten lava. The following layers could be done using red and yellow, mixing the red towards yellow for each step. But alas, I'm a lazy bugger :)
Start off with a layer of Doombull Brown:

Paint some spots with Khorne Red where you want the lava to look hotter:

Next comes a layer of Evil Sunz Scarlet. Each of the following layer should cover less space than the previous to leave a gradient. I prefer to dilute the paint some more at the following stages to get a bit smoother gradient. Nothing fancy, it's for the gaming table after all:

Almost there now. This layer is Wild Rider Red:

And the last layer. Time for some Yriel Yellow, Flash Gitz or whatever, and Bob's your Uncle!:

No comments:
Post a Comment